Often, these early, pre-installation measurements are pushed aside for the sake of time, but I firmly believe you don’t have time not to do them. When skipping this all-important step, more than likely, more time will be spent on-site trying to get the system to sound right after it’s installed. However, some problems might be difficult to diagnose, much less correct, due to the effects of the room and the boundaries impinging upon and becoming part of the measurement data. At a minimum, set up the loudspeaker in a parking lot, run some measurements, and preform some pre-optimization of the system. This should allow for more efficient and effective final tuning on-site.
Processing the Loudspeaker System
Once those reflection-free measurements have been captured at multiple locations, on-axis and off-axis, the next step is to apply the necessary processing (EQ, delay, gain adjustments, etc.) to the loudspeaker system. The goal is for it to sound good — regardless of what the measurements look like. If the measurements look good but the system sounds awful, something is wrong. It needs to sound good, even if the measurements might seem to indicate otherwise. It might be that something is amiss with the measurement setup. If the measurements don’t look good, but the system sounds good, take time to explore why it’s measuring that way.
After completing the pre-optimization and tuning to get the loudspeaker system to sound the way it should prior to loading it on the truck and getting it inside the building, most likely any issues encountered on-site during the installing and commissioning are not a problem with the loudspeaker. At this stage, poor results could be caused by several things: something changed in the rack (tuning settings, hardware, or wiring — each of which is easily traceable with electrical measurements); the acoustics of the venue; or boundary loading issues that need some further EQ adjustments in the affected frequency regions.
If everything was installed correctly (and it’s been verified, don’t assume) and the acoustics of the venue are in good shape, typically, boundary conditions might cause some issue in the low and/or midbass frequency regions. With the exception of some big stadiums, loudspeakers are usually mounted near boundaries in most installations. Mitigating boundary loading effects will require some corrective equalization in these frequency regions to account for the proximity of those boundaries.
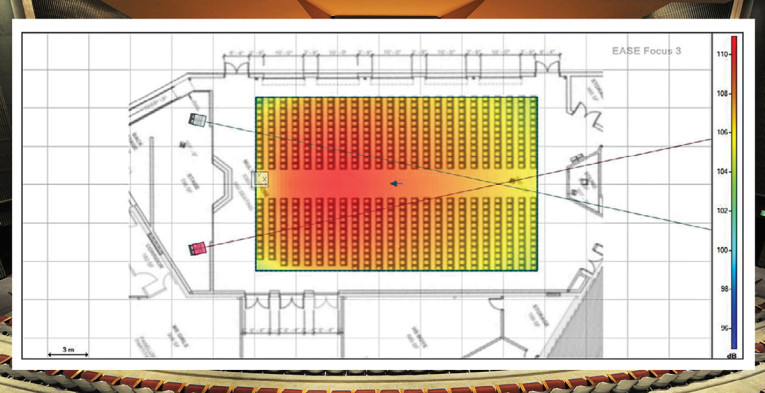
Keep in mind that the only thing that can really be equalized is the direct sound from the loudspeaker, which needs to be as good and natural as possible. If the acoustical environment of the venue is such that it has a long reverberation and decay in the mid-bass region, say 200 Hz to 400 Hz, the sound might be muddy or tubby. There’s going to be a desire to pull down those frequencies in that range. This is only a Band-Aid, but it may be the best option if the root cause of the problem (the acoustics) can’t be addressed within the constraints of money and/or time. It certainly can be beneficial to keep things from sounding muddy, but there’s a risk of pulling energy out of the source material in this frequency range. As a result, the audio isn’t going to sound as natural as it could. This is the compromise to be made for not fixing the root cause of the problem. As shown in Figure 1, beamforming can be used to help to minimize the excitation of a venue with potentially problematic acoustics.
Multi-Purpose Venues
When working in a multi-purpose venue, there might be requirements for musical programming as well as speech. Sometimes the processing requirements might be a bit different for each of these if they are both to be optimized. Two different, parallel processing paths can be implemented to help with these types of applications. Generally, the music program should be able to use the tuning for the system.
The speech signal path, however, might need additional processing to attenuate some of the mid-bass and low frequencies and boost some of the midrange and vocal intelligibility frequencies,
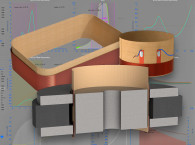
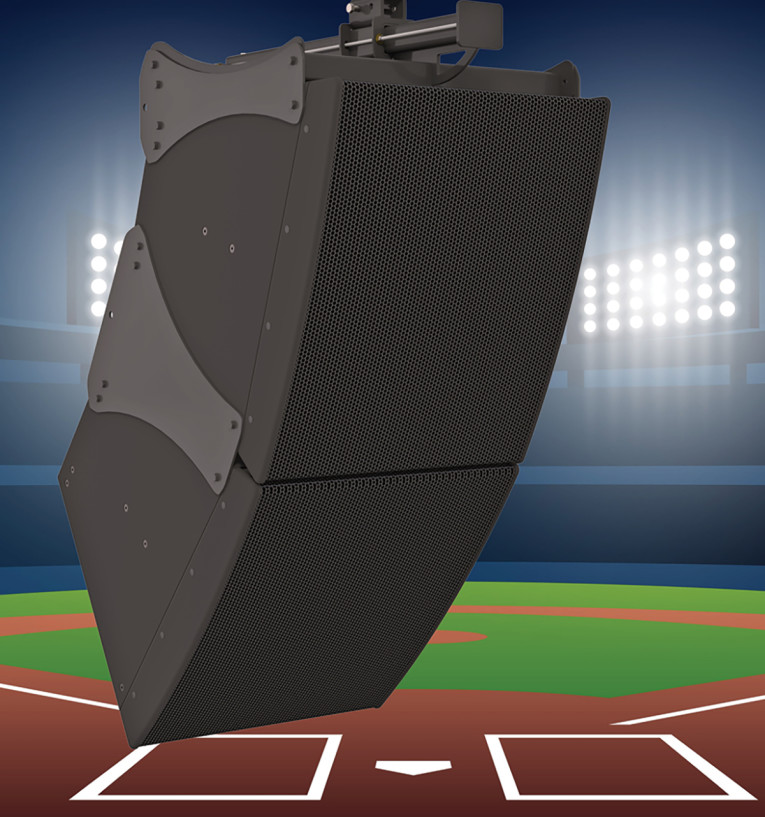
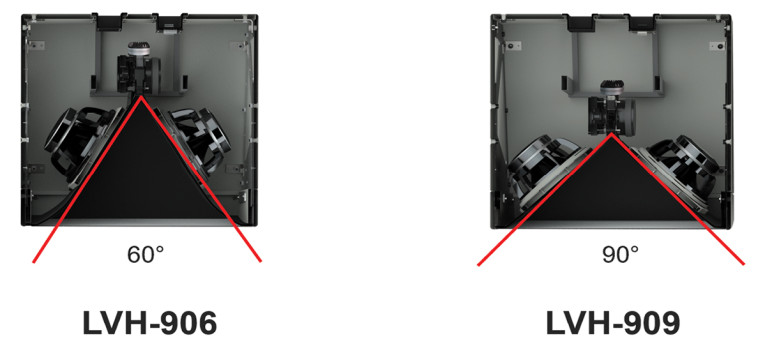
1 kHz to 4 kHz. As an aside, some loudspeakers might not be as well behaved as others. A lack of sufficient directivity control in the 2 kHz to 4 kHz region can result in energy getting sprayed to undesirable locations. This is where well-behaved loudspeakers, such as the Community LVH-900 loudspeaker (Figure 2 and Figure 3) from Biamp, can be incredibly beneficial.
Some venues might require front, under-balcony, or over-balcony fill loudspeakers. Time domain issues need to be properly addressed since it’s not always frequency domain issues that can cause problems. The time alignment between the mains and fill loudspeakers should be such that, ideally, there is a seamless integration.
If someone is seated under a balcony, for example, their focus and attention shouldn’t be drawn to a fill loudspeaker because of poor timing issues. Take advantage of the precedence effect, or the Haas effect. Slightly over delay those fill loudspeakers so that a listener doesn’t focus on the fill loudspeakers, but more to the main or, even better, to the actual program on stage. In addition, if the fill loudspeaker is a full-range device, capable of reproducing low frequencies yet does not have good low-frequency directivity control, be very mindful of the rearward-radiated sound from that loudspeaker. Generally, some equalization is required to attenuate the low frequencies and mid-bass energy in the frequency region where the loudspeaker lacks sufficient directivity control. For someone seated closer to the stage than the fill loudspeaker, hearing low-frequency sound from behind them can be quite distracting.
In Conclusion
Finally, listen — always listen. After tuning and alignments have all been completed (or so you think), walk around the venue. Listen to the mains from different locations. Listen in the overlap region between the mains and the fills. If it doesn’t sound good, there’s a problem and more work is needed. As mentioned earlier, measurements don’t always tell the whole story. Instead of implicitly trusting metrics on the computer screen, it’s essential to ensure the system actually sounds good throughout the venue.
How do you know when you’ve completed the tuning and commissioning process? Usually when the budget runs out. All jokes aside, it’s a process that takes time to get just right—days, if not weeks, for large permanent installation applications. The loudspeaker system should sound good and measure accordingly. There shouldn’t be any anomalies in the measurements, nor should anything be heard that’s less than desirable. Certainly, there are compromises that can’t be avoided, but following these guidelines can result in taking a step toward the best possible outcome for your project. aX
Author’s Note: Grateful acknowledgement is given to John Murray and Deward Timothy who first brought some of these concepts to my attention a long, long time ago.
This article was originally published in audioXpress, January 2022.
 About the Author
Charlie Hughes has a Bachelor of Science degree in Physics from the Georgia Institute of Technology and has been involved in pro audio for more than 30 years. He is an active member of the Audio Engineering Society (AES), Consumer Technology Association (CTA), International Electrotechnical Commission (IEC), and Syn-Aud-Con as well as serving on AES, AVIXA, CTA, and IEC standards committees. In 2013, he received the CTA Technology Achievement Award for his standards work. He currently has seven patents issued relating to loudspeaker design, primarily dealing with directivity control.


