
The brand's Room Layout eXpress (RLX) is a well formulated calculator to help users find the right amount of acoustic treatment for any space. And from there, users can follow the guide to find the best locations in the room to apply the acoustical treatment products. The tutorial provides guidance on what's different about a vocal booth and podcasting studio, which mainly need some absorption panels strategically placed.
As Auralex identified, there are three mains types of vocal studios. While the categories of rooms used for vocal recording may vary, there are three common types:
- A small vocal booth exclusively used for recording.
- A larger space used for recording.
- A larger space that is only partially used for recording (an office, living room, bedroom) that cannot be completely treated.
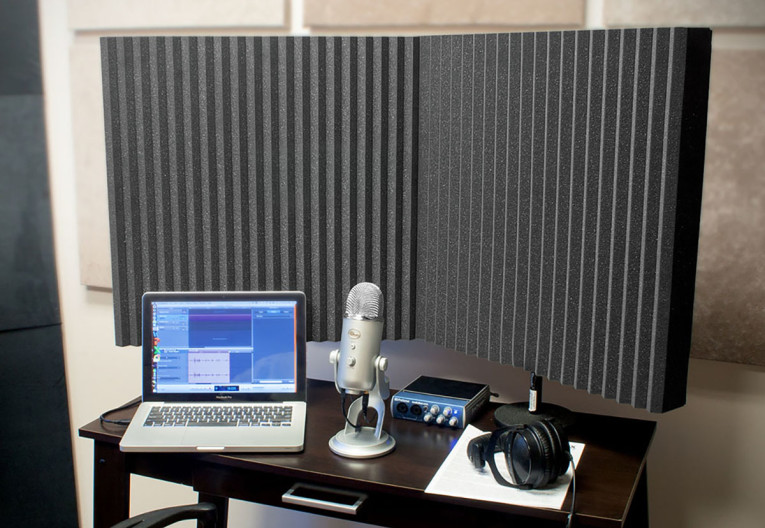
Based on those basic space profiles, Auralex provides three steps for acoustic treatment, starting with Wall Absorption. Regardless of the height of the room, the tutorial allows finding the best way to absorb from sitting level to standing height throughout the space. Starting 30”-36” off the ground and treating to 6’6” – 7’ height will address immediate reflections off of the walls in any room at the height used to record. If there is a wall directly in front, users can rely on Auralex DeskMAX Portable Treatment Panels.
Smaller spaces require a higher percentage of the walls to be covered for controlled and professional recordings. The company provides instructions to use the RLX app to define the required quantity of panels and how to place them.
"Start by treating the immediate recording area heavily with absorption. If the rest of the room allows it, we recommend spreading out and off-setting absorption on opposite walls, so that the treatment is not parallel. This helps reduce locational “slapback”, depending on where you stand within the room," Auralex explains.
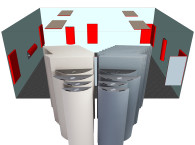
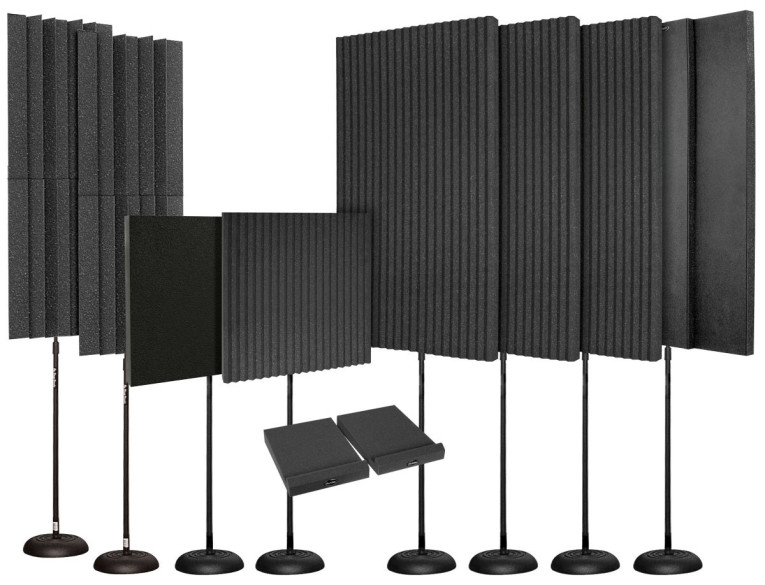
Another versatile option are the Freestanding/Portable treatment panels, which are a practical solution to create temporary spaces to record. The available Auralex ProMAX freestanding and portable Treatment Panels can create the proximity space and provide ideal results when coupled with absorption panels covering the closest walls.
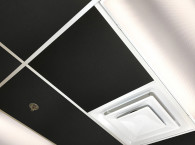
Treating the ceiling immediately above the recording areas is another important option to consider. To create an expanded area for interviews and live podcast productions, Auralex recommends a spread of acoustical panels (at least 4’x4’ if possible), which can help define the overall results. Spreading further absorption out across the rest of the room’s ceiling can also help control room noise and echoes.
Finally, the tutorial provides guidance on dealing with specific needs for every space. The presence of a long glass window on one of the walls can be a challenge, but can be dealt with by placing extra absorption on the opposite wall. Is the microphone facing a corner? Bass traps along the corners absorb across the entire frequency spectrum and fit into vertical corners easily. And the tutorial provides examples of necessary adjustments that can make the room aesthetically professional and comfortable to use.
www.auralex.com/podcasting